Step 01
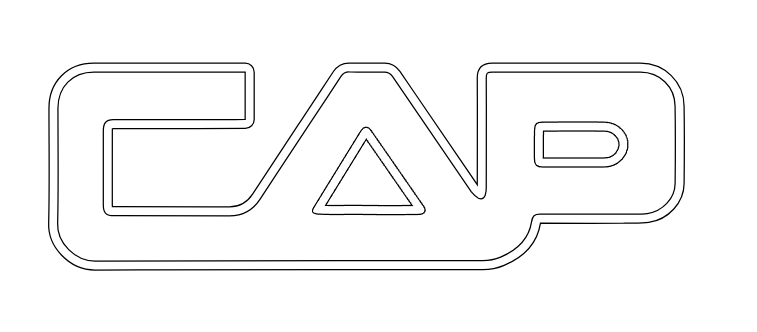
Download the CAP Logo File
Start with a known-good vector. Go ahead and download the CAP logo, since that's the artwork you'll use for your practice cut.

Step 02
Set Up Your Template or Swatch File
Download the template or swatch file for the software you'll use, open it, and position the CAP logo inside it. It's already sized and set up for the laser bed.
Step 03
Follow the SOP & Certify
Follow the setup SOP for your software step by step, following the directions to finish setting up your file. Then download and review the Lens Responsibility Contract.
When your file is ready and you’ve read the contract, sign up for certification.
Software Path · Option A
Adobe Illustrator
Next
After You’re Certified
Your certification links to your BSU ID and unlocks self-serve access. From there you can book up to one hour a day through WebCheckOut, and it works at the Architecture Building, Applied Sciences, and CAP:Indy lasers. Need the booking steps? See the reservation walkthrough.